I’m so thrilled that you want to join me on my 30-Day Blog Challenge! However, you may have seen the instructions about the badge and totally froze.
But don’t worry, I’m about to show you how easy it is to add a badge to your WordPress blog.
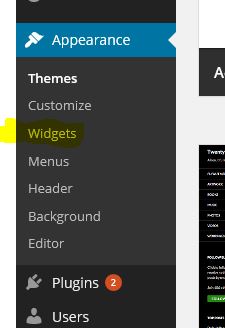
1. In your dashboard, click “Appearance” and then “Widgets.”
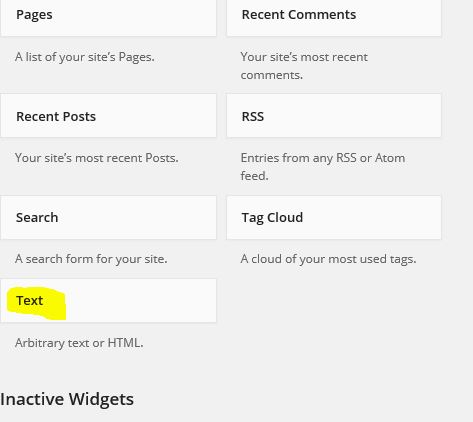
2. Choose the “Text” widget.
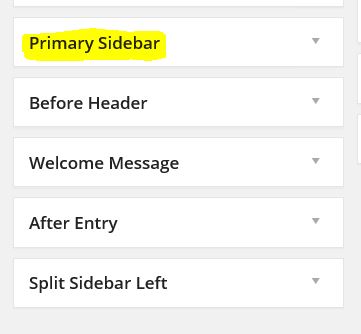
3. Decide where on your blog you’d like to place the badge. Most people use the Primary or Right Sidebar, but you can select any place you like.
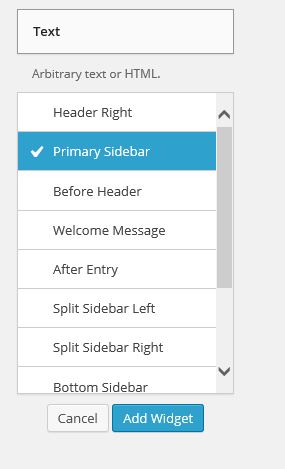
4. Depending on which version of WordPress you’re using, you can either drag and drop the text widget directly to the location box your badge will end up, or there will be a dropdown message that will allow you to select from there. I elected to use my dropdown menu.
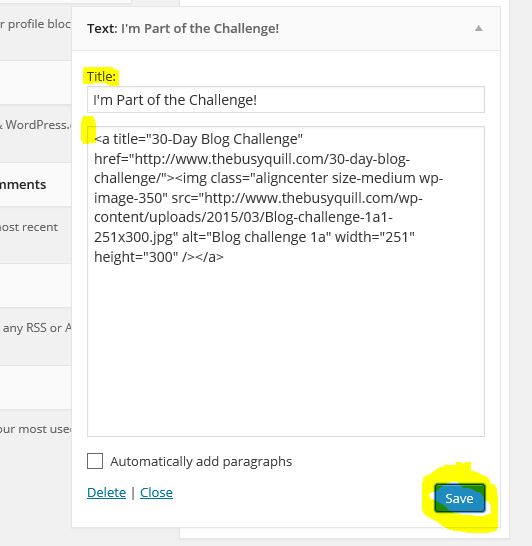
5. When you open the text widget box, you’ll see a “Title” field and the “Text” field. Create whatever title you like (I used, “I’m Part of the Challenge!”). Then paste the html code directly in the text field.
Our code is: <a title=”30-Day Blog Challenge” href=”https://thebusyquill.com/30-day-blog-challenge/”><img class=”aligncenter size-medium wp-image-350″ src=”https://thebusyquill.com/wp-content/uploads/2015/03/Blog-challenge-1a1-251×300.jpg” alt=”Blog challenge 1a” width=”251″ height=”300″ /></a>
Don’t forget to hit “Save.”
And there you have it. Super easy!
Let me know how it goes for you. 🙂


[…] ♥ WordPress user instructions are here: How to Add a Badge on WordPress […]